Safety First
Before you pick up any tools, a quick word about safety. Sliding glass door panels are made of tempered safety glass - which means when it breaks, it doesn't shatter into jagged shards. It crumbles into small, cube-shaped pieces. That's safer than regular glass, but you still need:
- Heavy-duty work gloves (cut-resistant if possible)
- Safety glasses with side shields
- Long sleeves and closed-toe shoes
- A helper for lifting (a 4' × 6' tempered panel weighs 60–80 pounds)
If the glass is already broken, lay a tarp or drop cloth below the door before you start. Wrap broken pieces in newspaper, tape the bundle shut, and label it "broken glass" for disposal. Most municipal waste services require this.
What You'll Need: Tools and Materials
Before you touch that broken panel, get these tools together. Most are probably in your garage already.
Essential Tools
| Tool | Why You'll Need It |
|---|---|
| Putty knife (or 5-in-1 painter's tool) | Prying off glazing beads |
| Utility knife | Cutting sealant and trimming |
| Tape measure | Measuring the opening - measure twice |
| Cordless drill or screwdriver | Securing glazing beads |
| Level | Checking alignment |
| Silicone sealant (GE Supreme Silicone or equivalent) | Weatherproof seal |
Safety Gear
- Safety glasses (side shields required)
- Heavy-duty work gloves
- Long sleeves and closed-toe shoes
Pro tip from our shop: A 5-in-1 painter's tool works better than a standard putty knife for prying off stubborn glazing beads. The curved notch lets you pull nails without switching tools.


Step 1: Remove the Old Glass Panel
Now for the nerve-wracking part: getting the broken piece out.
Start by running your utility knife along the edge of the glazing beads to cut through any paint or sealant holding them in place. Then use your putty knife to gently pry the beads away from the frame. Work slowly - these are the strips of wood, vinyl, or aluminum that hold the glass in place, and you'll need them for the new panel.
If your frame is aluminum: the clips that hold the glazing beads snap easily. Order a few spares when you buy your replacement glass.
If your frame is wood: use a thin putty knife and work from the middle of each bead toward the ends to avoid splitting the wood.
If your frame is vinyl: the beads may be snapped into a channel rather than nailed. Twist the putty knife gently to pop them loose.
Once all the beads are removed, grab a second pair of hands. A 4' × 6' tempered glass panel can weigh 60–80 pounds, and one wrong tilt while you're balancing it will send it straight to the ground. Carefully tilt the panel inward and lift it out. Place it flat on a soft surface (a folded moving blanket works great).
This step matters. A lot.
Step 2: Measure the Opening
With the old glass out, you've got a clean opening. Now measure carefully - this is where most DIY replacements go wrong.
Use your tape measure to take three measurements:
- Width - measure at the top, middle, and bottom of the opening
- Height - measure at the left, center, and right
- Use the smallest measurement - and subtract 1/8 inch from both width and height
⚠️ Critical: Measure from the inside of the frame, not the outer edge of the door. The glass sits inside a channel, and the glazing beads overlap the edges. Measuring incorrectly means your new panel won't fit - or worse, it'll be too small and rattle in the frame.
Write down your final dimensions and take them when you order the replacement. If you're ordering from us, include a photo of the old panel - we can confirm the glass type (tempered vs. laminated) and thickness (typically 1/8", 3/16", or 1/4").
Common sliding door glass sizes:
| Panel Type | Typical Size | Typical Thickness |
|---|---|---|
| Single-pane tempered | 36" × 76" | 3/16" or 1/4" |
| Double-pane insulated | 34" × 74" | 1/8" each pane |
| French door style | 28" × 78" | 3/16" |
| Custom sizes | Varies | Confirmed by measurement |
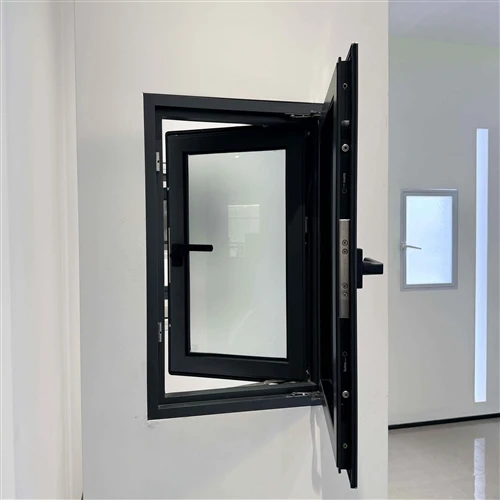
Step 3: Choose the Right Glass Panel
Not all glass is created equal - especially for a door that slides open and closed dozens of times a day. Here's what you need to know:
Tempered Glass (Standard - and Required by Code)
Almost all sliding glass doors built after modern building codes require tempered safety glass (look for an "ANSI Z97.1" or "CPSC 16 CFR 1201" stamp in the corner of your old panel). Tempered glass is 4–5× stronger than standard annealed glass, and when it breaks, it crumbles into small blunt pieces instead of sharp shards.
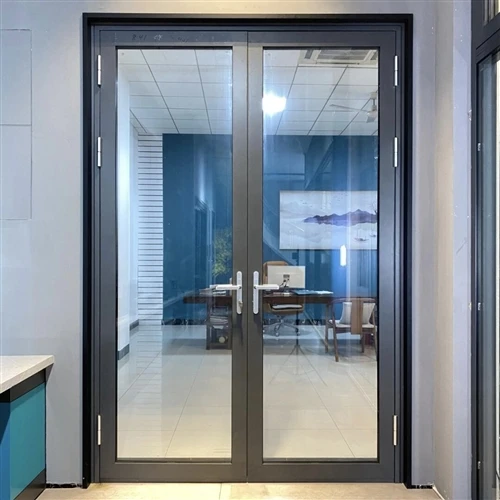
Best for: Any sliding door. It's the default for a reason. (Browse our tempered glass door panels →)
Frosted Glass
Frosted glass is our most popular pick for bathrooms and street-facing doors - you get natural light without letting the neighbors see in. The etching is permanent and doesn't peel or fade.
Best for: Privacy-sensitive areas. (See our frosted glass sliding doors →)
Low-E Glass
Low-emissivity glass has a microscopic coating that reflects heat back into your home in winter and blocks solar heat in summer. It can cut your door-related energy loss by 30–50%.
Best for: Doors exposed to direct sunlight or extreme climates.
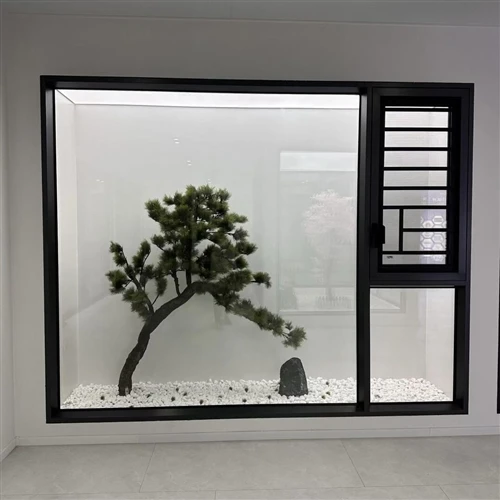
Insulated Double-Pane Glass
Two panes with a sealed air gap between them. Offers the best insulation and sound dampening. If your existing door has double-pane glass and one pane is broken, you may need to replace the entire sealed unit - not just the glass.
Best for: Cold climates, noise reduction.
Building code note: The International Residential Code (IRC R308) requires tempered or laminated glass in any door panel within 60 inches of a floor or walking surface. Don't skip this - it's a safety requirement, not just a recommendation.
Not sure which type you need? Browse our replacement glass panels or give us a call with your measurements.
Step 4: Install the New Glass Panel
Your new panel has arrived. Here's how to get it in place.
- Clean the frame channel - Remove any old sealant, debris, or broken glass fragments from the frame. A vacuum with a crevice tool works well.
- Apply a thin bead of silicone along the frame channel where the glass will rest. This cushions the glass and creates the first layer of weather seal.
- Position the new panel - With your helper, carefully lower the glass into the frame. Make sure it sits evenly in the channel at the bottom.
- Center and level - Place your level along the top and side of the panel. Shim the bottom if needed. This is critical - an unlevel panel will bind when you try to slide the door.
- Secure with glazing beads - Reinstall the beads you removed in Step 1. If they're nailed, use a finish nail gun or small finishing nails. If they snap into a channel, press firmly until they click in place. Work from the center outward to keep the glass centered.
Pro tip: If your old glazing beads are cracked or warped, don't reuse them. Replacement bead strips are inexpensive and will give you a cleaner seal. We carry standard profiles for most door brands.
Step 5: Seal and Weatherproof
For the seal, we recommend a high-quality silicone like GE Supreme Silicone - cheap acrylic caulk will crack within a season. Run a continuous bead around the entire perimeter where the glass meets the frame, then wet your finger and run it along the seam to press the sealant into the gap.
A sloppy seal here means drafty winters and foggy glass.
Let the sealant dry for at least 24 hours before sliding the door. During that time, keep the door stationary and avoid bumping the frame.
Quick check: After the sealant cures, run a dollar bill along the edge of the glass. If it slides through easily anywhere, you've got a gap. Apply another bead of sealant to that spot.
FAQ
Q: Can I replace just one panel of a sliding glass door?
A: Yes, individual glass panels in sliding glass doors can be replaced without replacing the entire door. This is a common DIY repair for cracked or broken panels.
Q: What type of glass is used in sliding doors?
A: Most sliding glass doors use tempered safety glass (ANSI Z97.1 rated). Some feature insulated double-pane glass for energy efficiency. Always confirm your door's glass type before ordering a replacement.
Q: Is it safe to replace sliding door glass myself?
A: Yes - if you take proper precautions. Wear safety glasses and heavy gloves, work with a helper, and never use regular (annealed) glass as a replacement. Always use tempered or laminated safety glass to meet building codes.
Q: How long does sliding door glass replacement take?
A: Plan for about 2–3 hours for the actual work, plus 24 hours for the sealant to fully cure before using the door. Most of the time goes into careful removal and proper leveling.
Q: How do I know if my glass is tempered?
A: Look for a small stamp in one corner of the glass. It usually says "ANSI Z97.1," "CPSC 16 CFR 1201," or has a small logo. Tempered glass also has slight edge compression - you'll see faint roller marks along the edges from the manufacturing process.
Troubleshooting: Common DIY Mistakes
| Problem | Likely Cause | Fix |
|---|---|---|
| New glass doesn't fit the frame | Measured the wrong dimension | Re-measure inside frame, subtract 1/8". Order the correct size. |
| Glass rattles in the frame | Panel is too narrow | Remove and add foam tape shims along the bottom channel |
| Door won't slide after installation | Panel isn't level | Check with a level; adjust shims at the bottom |
| Sealant cracked within a month | Used acrylic instead of silicone | Remove and re-caulk with GE Supreme Silicone or equivalent |
| Glazing beads don't align | Beads are warped from removal | Replace with new bead strips |
When to Call a Professional
While this is a beginner-friendly project, there are situations where you're better off calling in a pro:
- The door frame is damaged - rot, rust, or warping needs structural repair
- It's a commercial-grade door - some have non-standard retention systems
- You need insulated double-pane glass - the sealed unit may require specialized handling
- You're uncomfortable lifting heavy glass - no shame in that. A broken panel during installation creates a whole new problem
If that sounds like your situation, our professional installation team can handle it - same-day estimates available.
DIY vs. Professional: Cost Comparison
| DIY | Professional | |
|---|---|---|
| Glass panel cost | 50–50–150 | 50–50–150 (marked up) |
| Materials | 15–15–30 | Included |
| Tools | 20–20–40 (if you don't own them) | Included |
| Labor | Your time | 150–150–500 |
| Total | 85–85–220 | 200–200–650 |
| Time | 2–3 hours + 24hr curing | 1–2 hours |
| Risk | You handle the heavy lifting | Warranty-backed |
Next Steps: Maintain Your Newly Replaced Glass
You put in the work - make it last. Here are a few things to keep your sliding glass door in top shape:
- Clean the tracks regularly to prevent debris from scratching the new glass
- Lubricate the rollers every 6 months
- Check the seal annually and re-caulk if you see gaps
- If the door starts sticking, the issue is likely the rollers, not the glass
Need a replacement panel? We cut custom-sized tempered glass to your exact measurements and ship direct. Browse our selection or give us a call - we'll help you match your existing door's specs. With the right replacement glass panel, your door will be back in business in one afternoon.
If you're in the market for a new sliding glass door or need to replace the glass panel in your existing door, we're here to help. As a leading supplier of sliding glass doors, we offer a wide range of options to suit your needs and budget. Contact us today to learn more about our products and services.
References Home Depot. (n.d.). How to Replace a Glass Panel in a Sliding Door. Retrieved from https://www.homedepot.com/c/ah/how-to-replace-a-glass-panel-in-a-sliding-door/9ba683603be9fa5395fab909690d7c8 Lowe's. (n.d.). How to Replace a Glass Panel in a Sliding Door. Retrieved from https://www.lowes.com/n/how-to/replace-a-glass-panel-in-a-sliding-door